Discover our complete grout mixing guide to achieve the perfect consistency for tile installation. Learn ratios, slake times, and expert techniques today.
Table of Contents
- Quick Summary
- Quick Stats: Grout Mixing Guide
- Introduction
- Understanding Powder-to-Water Ratios
- Mechanical Mixing Techniques and Slake Times
- Achieving the Right Consistency in Your Grout Mixing Guide
- Pre-Mixed Alternatives and Applications
- Questions from Our Readers
- Comparing Mixing Methods
- Practical Tips
- Before You Go
- Sources & Citations
A grout mixing guide is a comprehensive instructional resource detailing the precise ratios, techniques, and resting periods required to prepare cementitious or pre-mixed tile grout. Proper preparation ensures a spreadable texture, prevents dry clumps, and guarantees long-lasting adhesion for professional tile installation projects.
Quick Stats: Grout Mixing Guide

- MAPEI recommends an approximate 3 to 1 powder-to-water ratio by weight for many cementitious grouts (MAPEI Corporation, 2024)[1].
- Cement-based grouts require 3-5 minutes of mechanical mixing to properly wet out the powder (MAPEI Corporation, 2024)[1].
- RUBI advises a 45-degree bucket tilt angle during mixing to easily spot and eliminate dry clumps (RUBI Tools USA, 2025)[2].
- Pre-mixed formulations require zero on-site water measurements, drastically reducing mixing errors (Hemway, 2025)[3].
Introduction
Mastering the art of tile installation begins long before the trowel touches the joint. A reliable grout mixing guide provides the foundational knowledge needed to transform dry powder and water into a durable, cohesive filler. Whether you are working on a small bathroom backsplash or a large commercial floor, understanding the chemistry and mechanics of grout preparation is essential for preventing grout failure and ensuring a flawless finish.
In this article, we will explore the critical steps outlined in a professional grout blending instructions manual. We will cover exact powder-to-water ratios, the importance of slake time, and the mechanical techniques required to achieve the perfect texture. By following these cement grout mixing tutorial principles, both DIY enthusiasts and seasoned contractors can avoid common pitfalls like dry clumps or excess water separation. Read on to discover how proper preparation elevates your tile setting materials and guarantees long-lasting results.
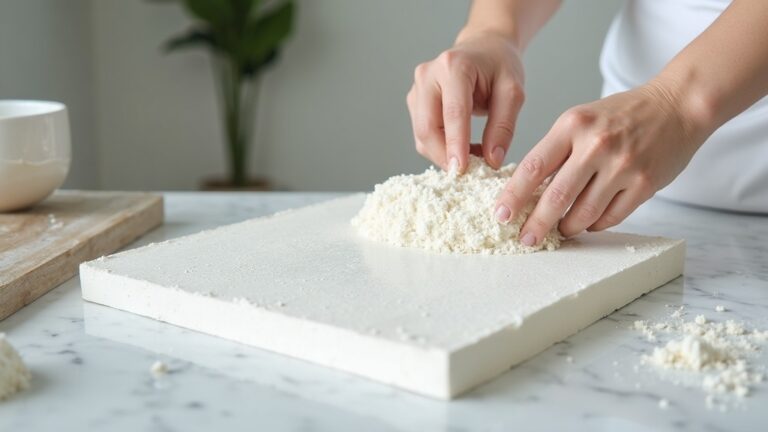
Understanding Powder-to-Water Ratios
The foundation of any successful tile grout preparation manual lies in strictly adhering to the manufacturer’s specified ratios. Estimating measurements by eye is a primary cause of weak joints and color inconsistency. Most cementitious products require precise proportions to activate the chemical binders properly without compromising the structural integrity of the final cure.
According to industry standards, manufacturers dictate exact measurements to ensure optimal performance. For instance, MAPEI recommends an approximate 3 to 1 powder-to-water ratio by weight when mixing a full bag of many of its cementitious grouts, for example, about 150 ounces of grout powder to 50 ounces of water (MAPEI Corporation, 2024)[1]. The technical documentation explicitly warns installers to measure both grout powder and water by weight or volume according to the provided table, rather than estimating, to maintain 100 percent adherence to the specified ratios (MAPEI Corporation, 2024)[1].
When working with partial bags, the math must remain exact. Dividing the powder and water proportionally ensures the chemical balance remains intact. As the MAPEI Corporation (2024) technical services team advises, “Always follow the powder-to-water ratios on the product’s Technical Data Sheet and mix for the recommended time to achieve the proper grout consistency and performance.”[1] This strict adherence prevents the grout from becoming too soupy, which weakens the joint, or too dry, which prevents it from packing tightly into the tile joints.
Using a digital scale is the most reliable method for achieving this precision. While volume measurements can work in a pinch, weight measurements eliminate the variables of powder compaction and humidity. For those seeking more general advice, our uncategorized grout resources offer additional insights into material preparation. By treating the ratio as an unbreakable rule, installers set the stage for a smooth, durable application that resists cracking and shrinking over time.
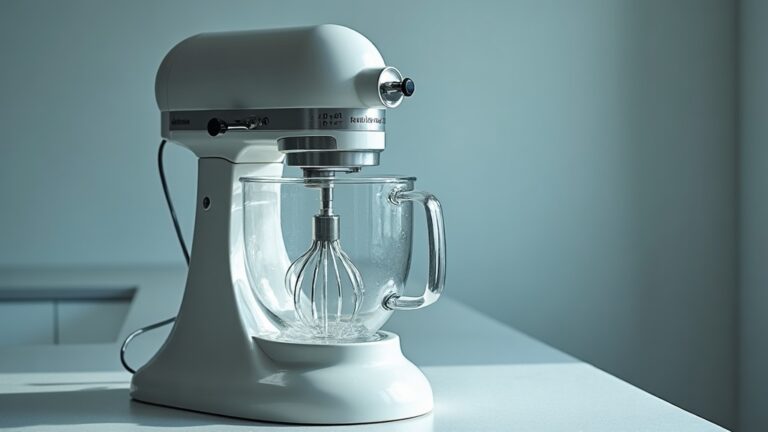
Mechanical Mixing Techniques and Slake Times
Once the materials are measured, the physical process of combining them dictates the final quality of the slurry. A comprehensive grout slurry mixing directions document will always emphasize the order of addition and the necessity of resting periods. Proper mechanical agitation ensures every particle of powder is fully encapsulated by water, eliminating weak spots in the cured joint.
The sequence of adding ingredients matters significantly. RUBI Tools USA (2025) notes that installers should “Start by putting the appropriate amount of water in your bucket first. Adding the water in first makes the grout easier to mix and helps prevent dry clumps sticking to the bottom of the bucket.”[2] Once the powder is added, mechanical mixing should commence immediately. MAPEI instructs installers to mix its cement-based grouts mechanically for approximately 3-5 minutes to properly wet out the powder and achieve a smooth, uniform mix (MAPEI Corporation, 2024)[1].
During this process, the angle of the bucket can greatly improve visibility and efficiency. RUBI recommends a 45-degree bucket tilt angle while mixing so the installer can clearly see and eliminate any dry clumps of grout (RUBI Tools USA, 2025)[2]. This technique ensures the mixing paddle reaches all corners of the vessel, creating a homogenous blend.
After the initial agitation, the mixture must rest. This resting period, known as slaking, allows the chemical additives to fully dissolve and the powder to absorb the water completely. MAPEI recommends allowing cementitious grout to rest for about 5 minutes of slake time before remixing and using it (MAPEI Corporation, 2024)[1], while RUBI advises letting it sit for about 10 minutes of recommended slake time before a brief hand remix (RUBI Tools USA, 2025)[2]. Skipping this crucial step results in a stiff, unworkable paste that dries too quickly and fails to bond correctly to the tile edges.
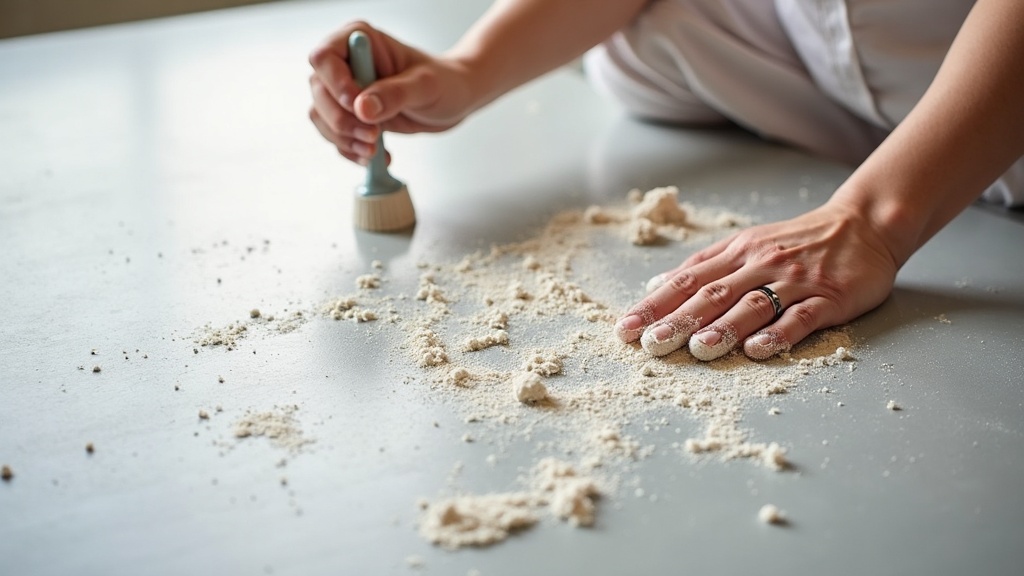
Achieving the Right Consistency in Your Grout Mixing Guide
The visual and tactile feedback of the mixture is the ultimate test of a successful preparation. A well-executed mortar and grout mixing handbook will teach installers to rely on specific textural benchmarks rather than just timing. The ideal consistency varies slightly depending on whether the application is for vertical or horizontal surfaces.
For standard floor applications, the mixture should be thick but easily workable. The MudMixer Technical Team (2025) states, “For most tile grout applications, aim for a peanut-butter-like texture – thick but spreadable, with no dry clumps or excess water separating on the surface.”[4] This specific texture ensures the material stays in the joints without slumping or shrinking excessively as it cures. MudMixer emphasizes checking the mix early and adjusting water if needed, maintaining zero tolerance for dry clumps or visible air bubbles in the finished mix (MudMixer, 2025)[5].
Wall applications, however, demand a stiffer mixture to combat gravity. RUBI’s guidance notes that wall grout should be mixed to a stiffer, bread-dough-like consistency, while floor grout is typically a bit looser, resulting in two different target consistencies depending on the surface (RUBI Tools USA, 2025)[2]. Professional installers often use descriptive analogies to communicate this feel. Natomas F.A. (2025), a professional tile installer, explains, “I always describe it as mixing to the consistency of buttercream icing – nice and smooth but spreadable so it stays in the joints without slumping.”[6]
Achieving these specific textures requires careful observation. If the mix is too wet, it will smear across the tile face and shrink deeply into the joint. If it is too dry, it will crumble and fail to pack tightly. By referencing the benchmarks found in a detailed groutmixing guide, installers can make micro-adjustments during the final hand-mixing phase to dial in the perfect spreadable mix for their specific tile setting materials.
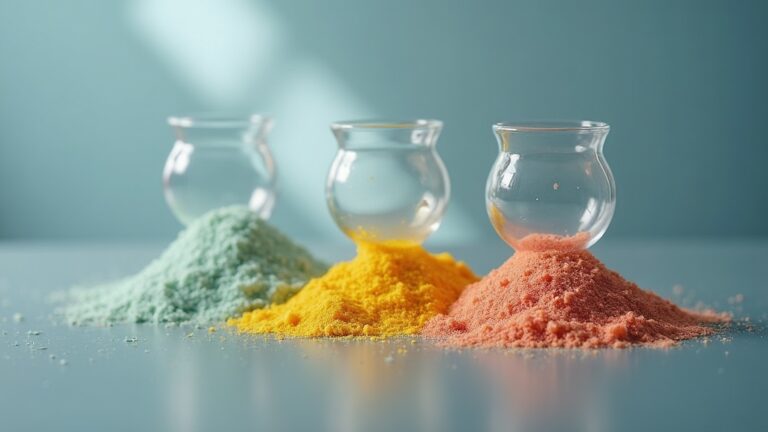
Pre-Mixed Alternatives and Applications
While traditional cementitious powders remain the industry standard for many projects, modern formulations offer convenient alternatives that bypass the measuring and slaking processes entirely. Pre-mixed options have gained significant traction in both residential and commercial sectors due to their ease of use and guaranteed uniformity. Understanding when to use these products is a key component of any modern tile grout preparation manual.
The primary benefit of these ready-to-use buckets is the elimination of human error during the preparation phase. The Hemway Technical Team (2025) points out, “One of the main advantages of pre-mixed grout is consistency – because the manufacturer controls the water ratio, you remove one of the most common causes of grout failure on DIY projects.”[3] Because the formulation is pre-hydrated and stabilized, it requires zero on-site water measurements when using true pre-mixed grout (Hemway, 2025)[3]. This makes it an incredibly attractive option for novices or contractors working on small, intricate jobs where mixing a full bag would result in excessive waste.
Furthermore, these products often feature advanced polymers that provide superior stain resistance and color consistency straight out of the bucket. They do not require a slake time, allowing the installer to open the container and begin working immediately. However, they do have limitations. Pre-mixed decorative grouts generally require longer curing times and are not always suitable for submerged applications like swimming pools or heavy-duty industrial floors.
For those looking to explore the differences between traditional and modern materials, reviewing a sample page of product comparisons can clarify which option best suits a specific environment. Additionally, consulting external resources like the National Tile Contractors Association guidelines provides further context on material selection. Ultimately, whether choosing a traditional powder or a pre-mixed bucket, the goal remains the same: achieving a durable, aesthetically pleasing joint that protects the tile installation for years to come.
Questions from Our Readers
How does a grout mixing guide prevent cracking?
A reliable grout mixing guide prevents cracking by emphasizing exact water ratios and proper slake times. Cracking usually occurs when the mixture contains too much water or when it dries too quickly. If the powder-to-water ratio is off, the structural integrity weakens as the excess moisture evaporates, leaving voids in the joint. To prevent this, always measure ingredients by weight, respect the manufacturer’s resting periods, and avoid applying the material in extremely hot or drafty environments that accelerate surface drying.
Can I add more water if the grout gets too stiff?
Adding water to a batch that has already begun to set or stiffen in the bucket is highly discouraged. Once the chemical curing process starts, introducing more water breaks the molecular bonds, resulting in a weak, powdery finish that will easily crumble out of the tile joints. If your mixture becomes unworkable before you finish the job, it has exceeded its pot life. The only professional solution is to discard the stiffened batch and mix a fresh, properly proportioned amount to ensure lasting adhesion.
What is the best tool for mixing small batches?
For small batches, a heavy-duty margin trowel or a dedicated hand-mixing paddle attached to a low-speed drill works best. High-speed drills introduce excessive air bubbles into the slurry, which weaken the cured joint and create pinholes on the surface. When mixing by hand, use a figure-eight motion to scrape the bottom and sides of the bucket thoroughly. This ensures all dry powder is incorporated and helps you achieve the smooth, peanut-butter-like texture required for a flawless application without trapping air.
How long should I wait before sealing the grout?
Most cementitious products require a minimum of 48 to 72 hours to cure sufficiently before a penetrating sealer can be applied. However, this timeframe can extend in humid or cold environments where moisture evaporation is slower. Applying a sealer too early traps residual moisture inside the joint, which can lead to hazing, discoloration, or degradation of the sealer itself. Always check the specific technical data sheet for your chosen product, as some modified or pre-mixed formulations may have different curing prerequisites.
Comparing Mixing Methods
Selecting the right preparation method depends heavily on the scope of the project and the installer’s experience level. While traditional powder mixing offers maximum versatility and cost-efficiency for large areas, modern alternatives provide distinct advantages for specific scenarios. Below is a breakdown of the primary approaches used in the industry today.
| Method | Best For | Key Advantage | Primary Drawback |
|---|---|---|---|
| Traditional Cement Powder | Large floors, commercial spaces | Highly cost-effective, strong cure | Requires precise measuring and slaking |
| Pre-Mixed Buckets | Backsplashes, small repairs, DIY | Zero water measuring, perfect consistency | Higher cost per square foot, longer cure |
| Continuous Mixing Equipment | Massive commercial tile installations | Automated ratios, high volume output | Expensive machinery, requires cleanup |
Understanding these differences helps contractors allocate their time and budget effectively, ensuring the chosen grout mixing method aligns with the project’s physical demands.
Practical Tips
To elevate your tile installation results, incorporate these professional best practices into your daily workflow. First, always use clean, potable water; impurities or high mineral content in hard water can alter the chemical reaction and cause efflorescence or color shading in the finished joints. Second, maintain a consistent ambient temperature in the work area. Extreme heat accelerates the curing process, reducing your working time, while cold temperatures delay the chemical activation.
When working with large-format tiles or natural stone, consider using a grout release or pre-sealing the stone to prevent pigment from staining the porous surface. Always clean your mixing tools immediately after use; dried cementitious material is incredibly difficult to remove and can contaminate future batches. Finally, never mix different brands or colors of powder together, even if they appear similar, as their chemical compositions and pigment loads vary drastically. By adhering to these practical guidelines and referencing a trusted grout mixing guide, you ensure every project meets the highest standards of durability and aesthetic excellence.
Before You Go
Achieving a flawless tile finish relies entirely on the preparation that happens before the trowel ever touches the joint. By mastering the precise ratios, respecting slake times, and understanding the textural benchmarks outlined in this grout mixing guide, you eliminate the most common causes of joint failure. Whether you opt for traditional cementitious powders or convenient pre-mixed alternatives, strict adherence to manufacturer instructions guarantees long-lasting results. For more in-depth tutorials and expert advice on tile setting materials, continue exploring the resources available on concretegrout.com to refine your installation skills.
Sources & Citations
- Mixing Partial Units of Grout – Technical Bulletin. MAPEI Corporation.
https://cdnmedia.mapei.com/docs/librariesprovider10/line-technical-documentation-documents/mixing-partial-units-of-grout.pdf - How to Mix Grout Perfectly Every Time. RUBI Tools USA.
https://www.rubi.com/us/blog/how-to-mix-grout - The Ultimate Guide to Pre-Mixed Grout: Everything You Need to Know. Hemway.
https://us.hemway.com/blogs/inspiration/the-ultimate-guide-to-pre-mixed-grout-everything-you-need-to-know - How to Mix Grout Like a Pro: Step-by-Step Guide. MudMixer.
https://mudmixer.com/blogs/news/how-to-mix-grout-like-a-pro - How to mix grout for tile installation? Natomas F.A.
https://www.facebook.com/groups/121343934566129/posts/23967136972893491/
For more about Groutmixing guide, see Groutmixing Guide.